I absolutely love the holidays, and today I’m sharing how to put together a very easy and elegant holiday table. First, I throw out all the rules. If you don’t want to get bogged down with the formalities keep reading. This is the perfect foundation table for any occasion. You can make it more or less formal. It’s totally up to you. Below are my basics.
START WITH THE PLACE SETTING
Very basic for some, table setting 101 includes placemat, plate, napkin, done.
placemat // plate // napkin

For a more formal look, you can add a beautiful tablecloth, formal charger and napkin ring.
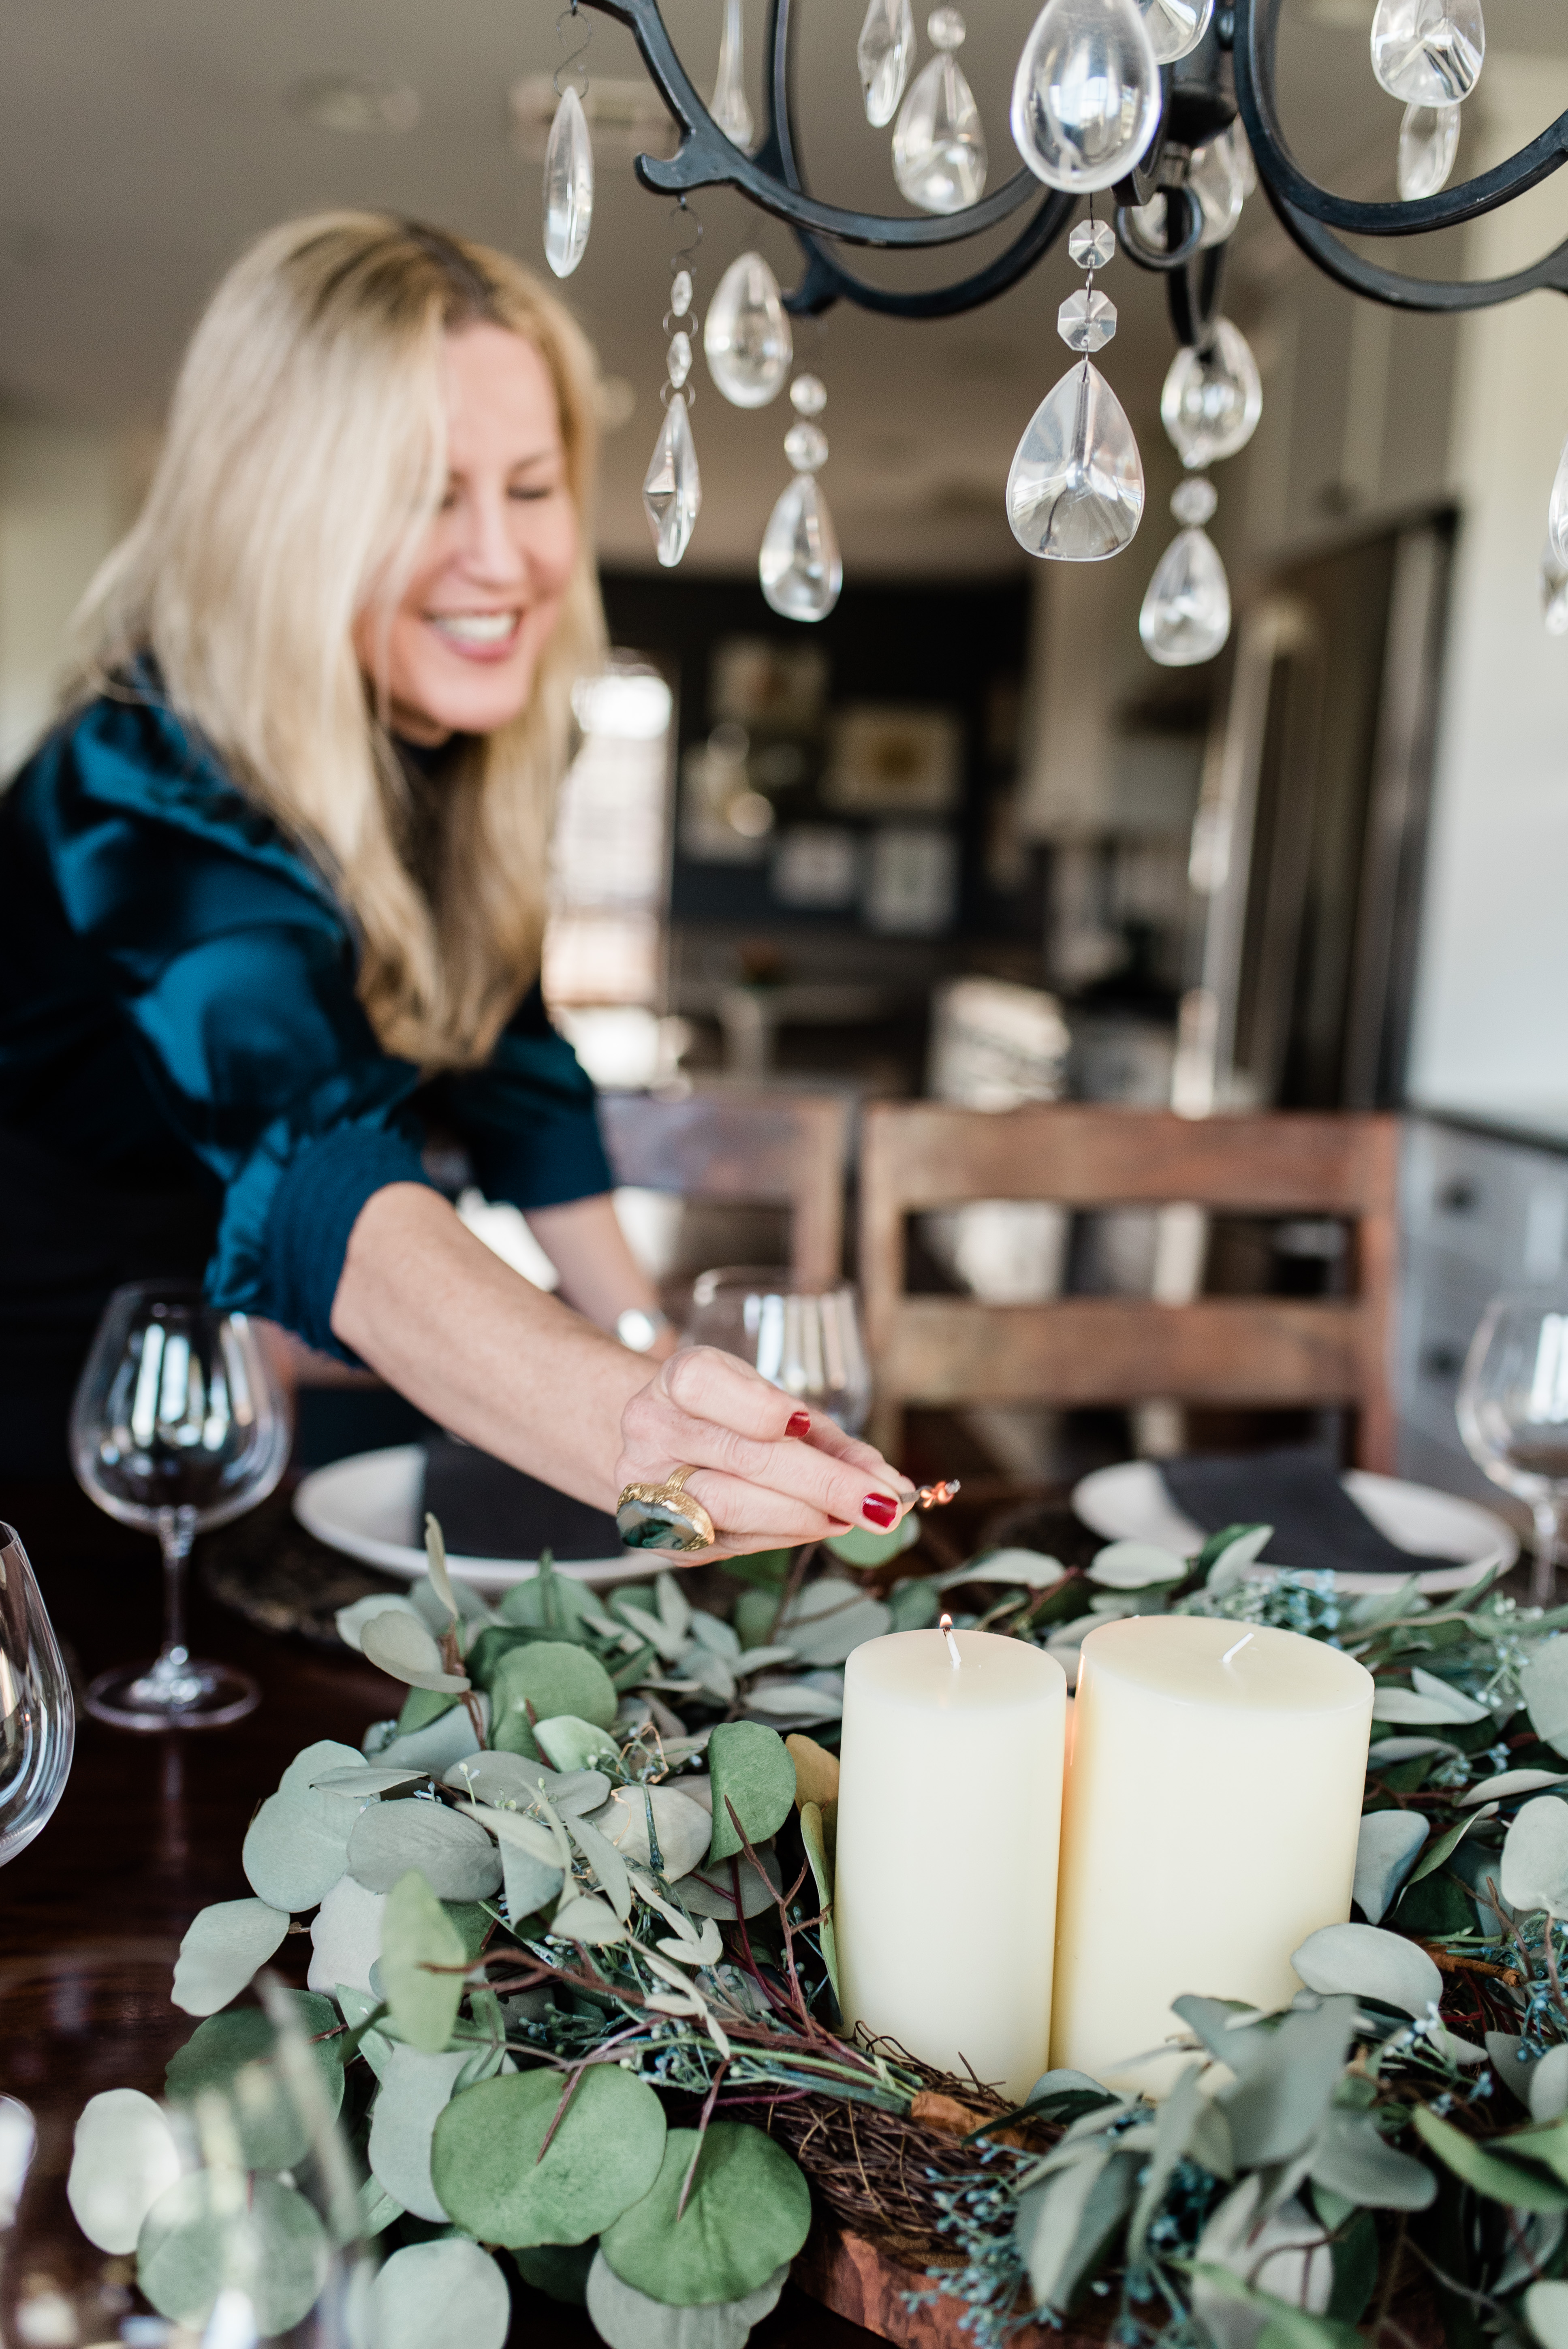
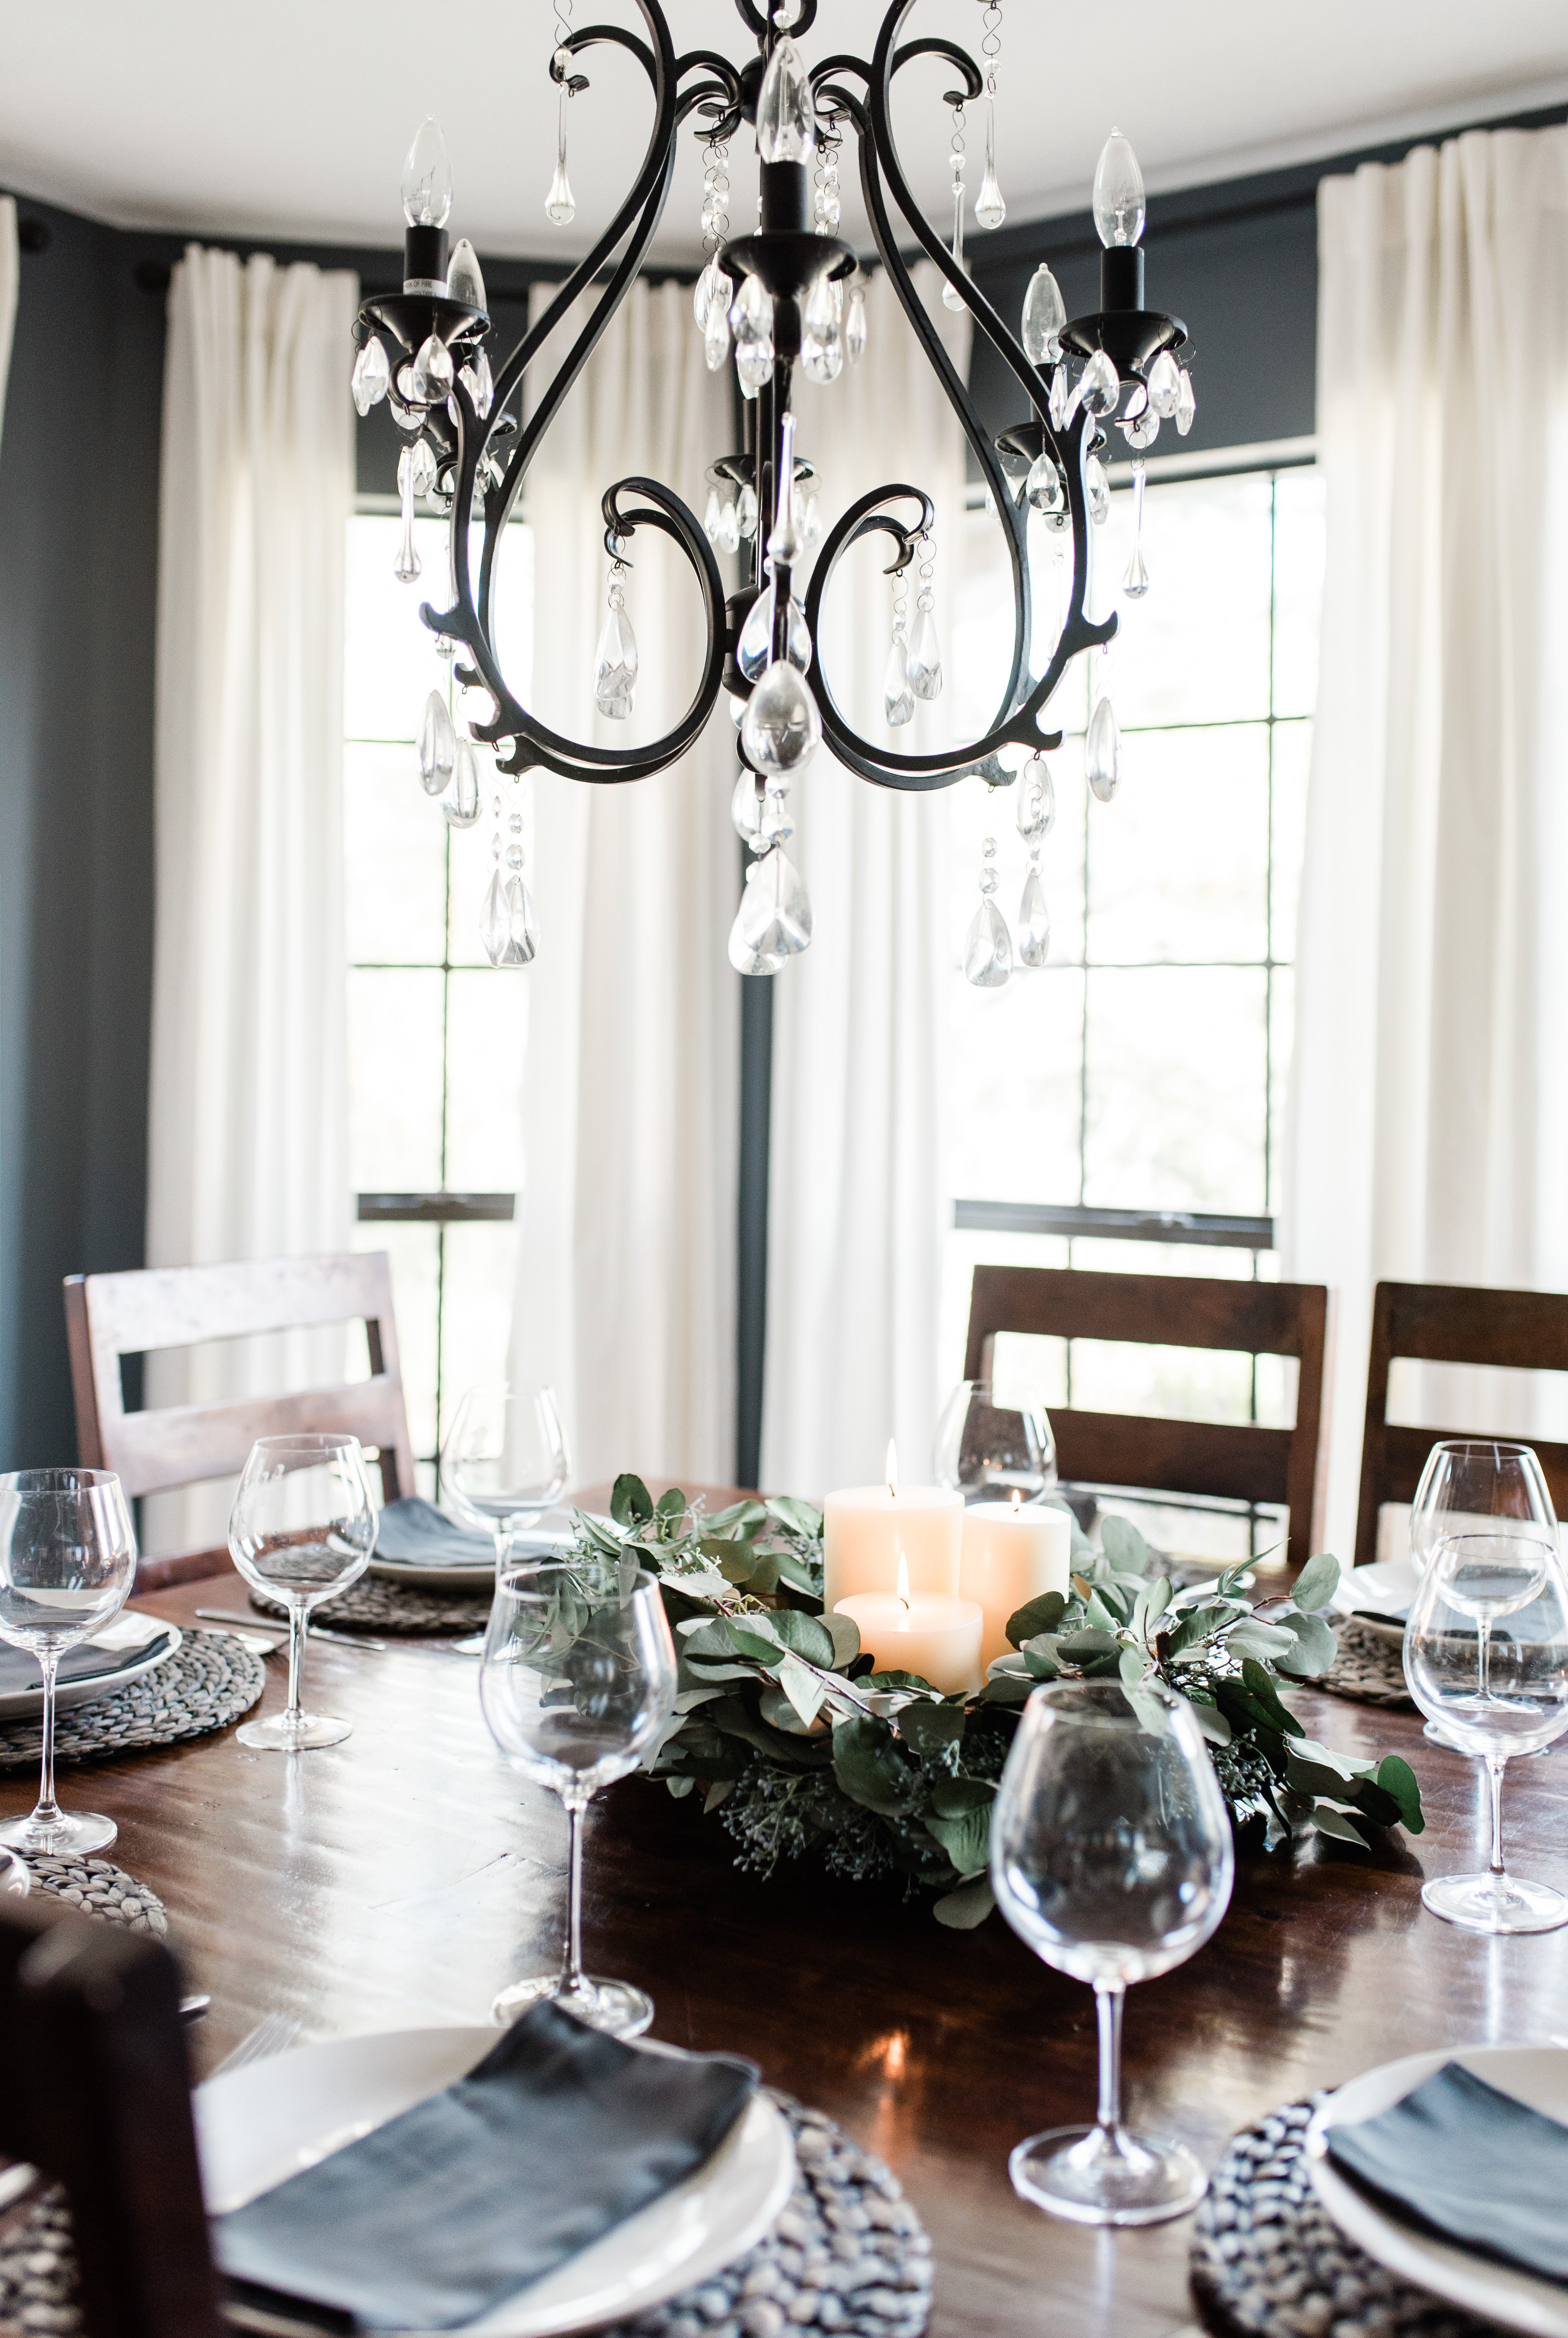
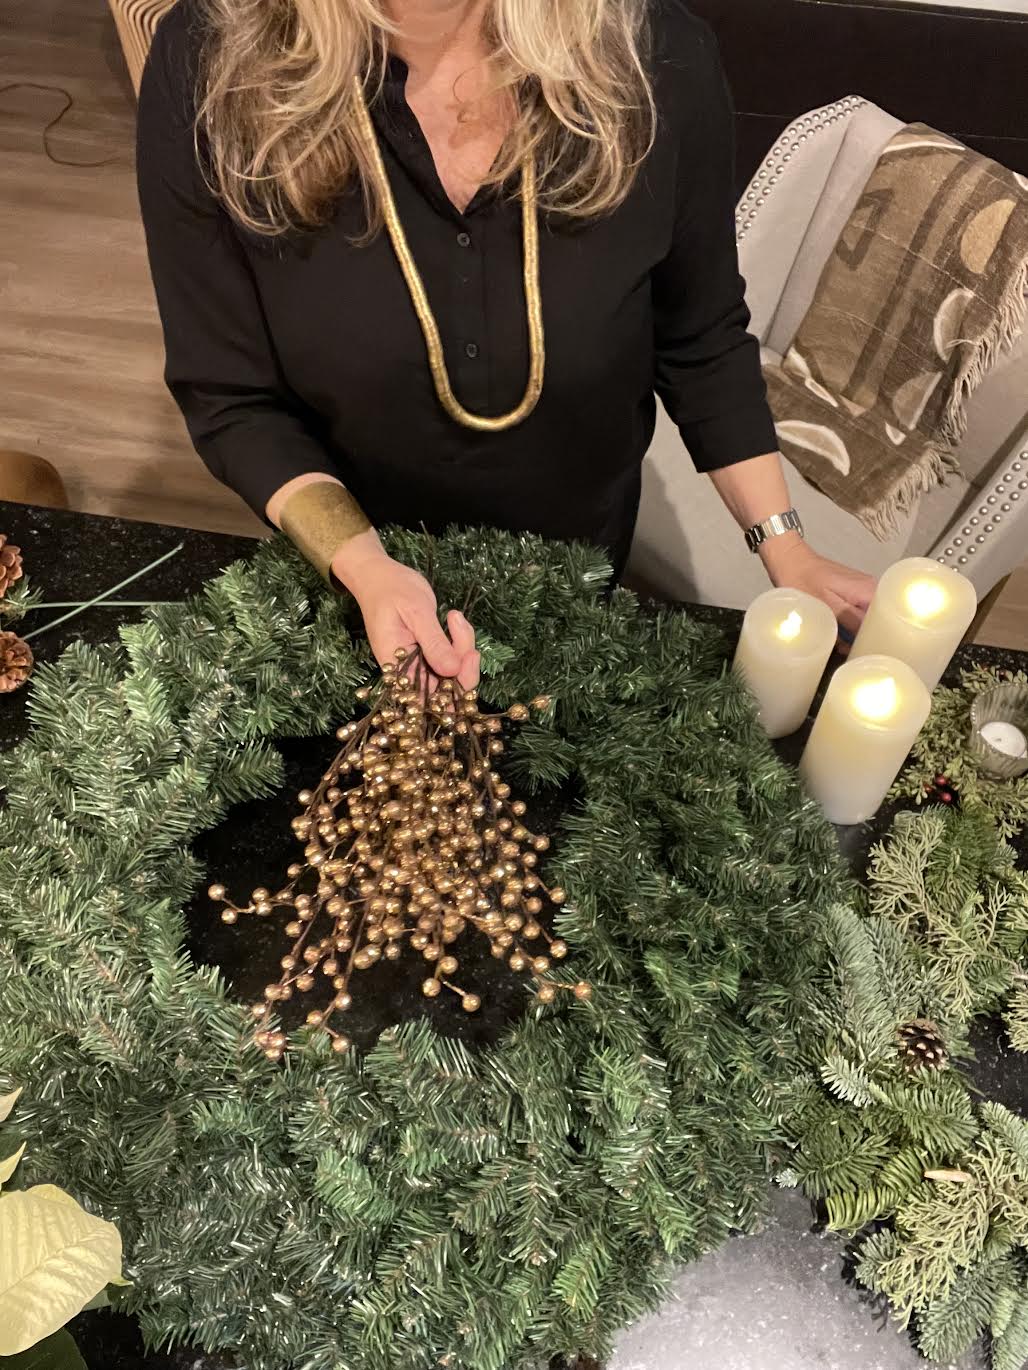
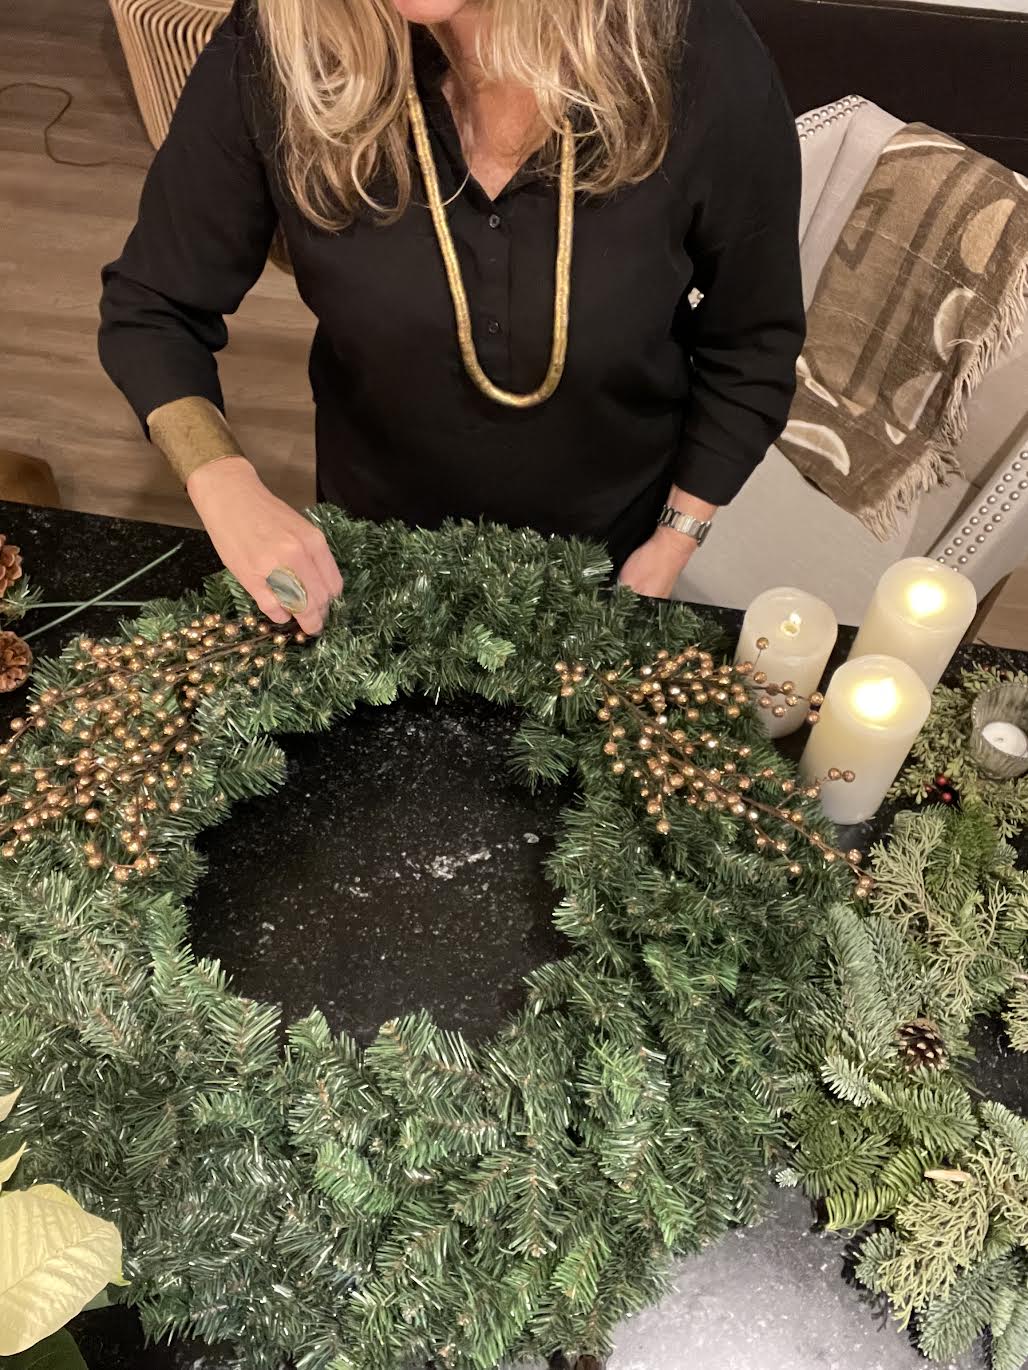
THE CENTERPIECE
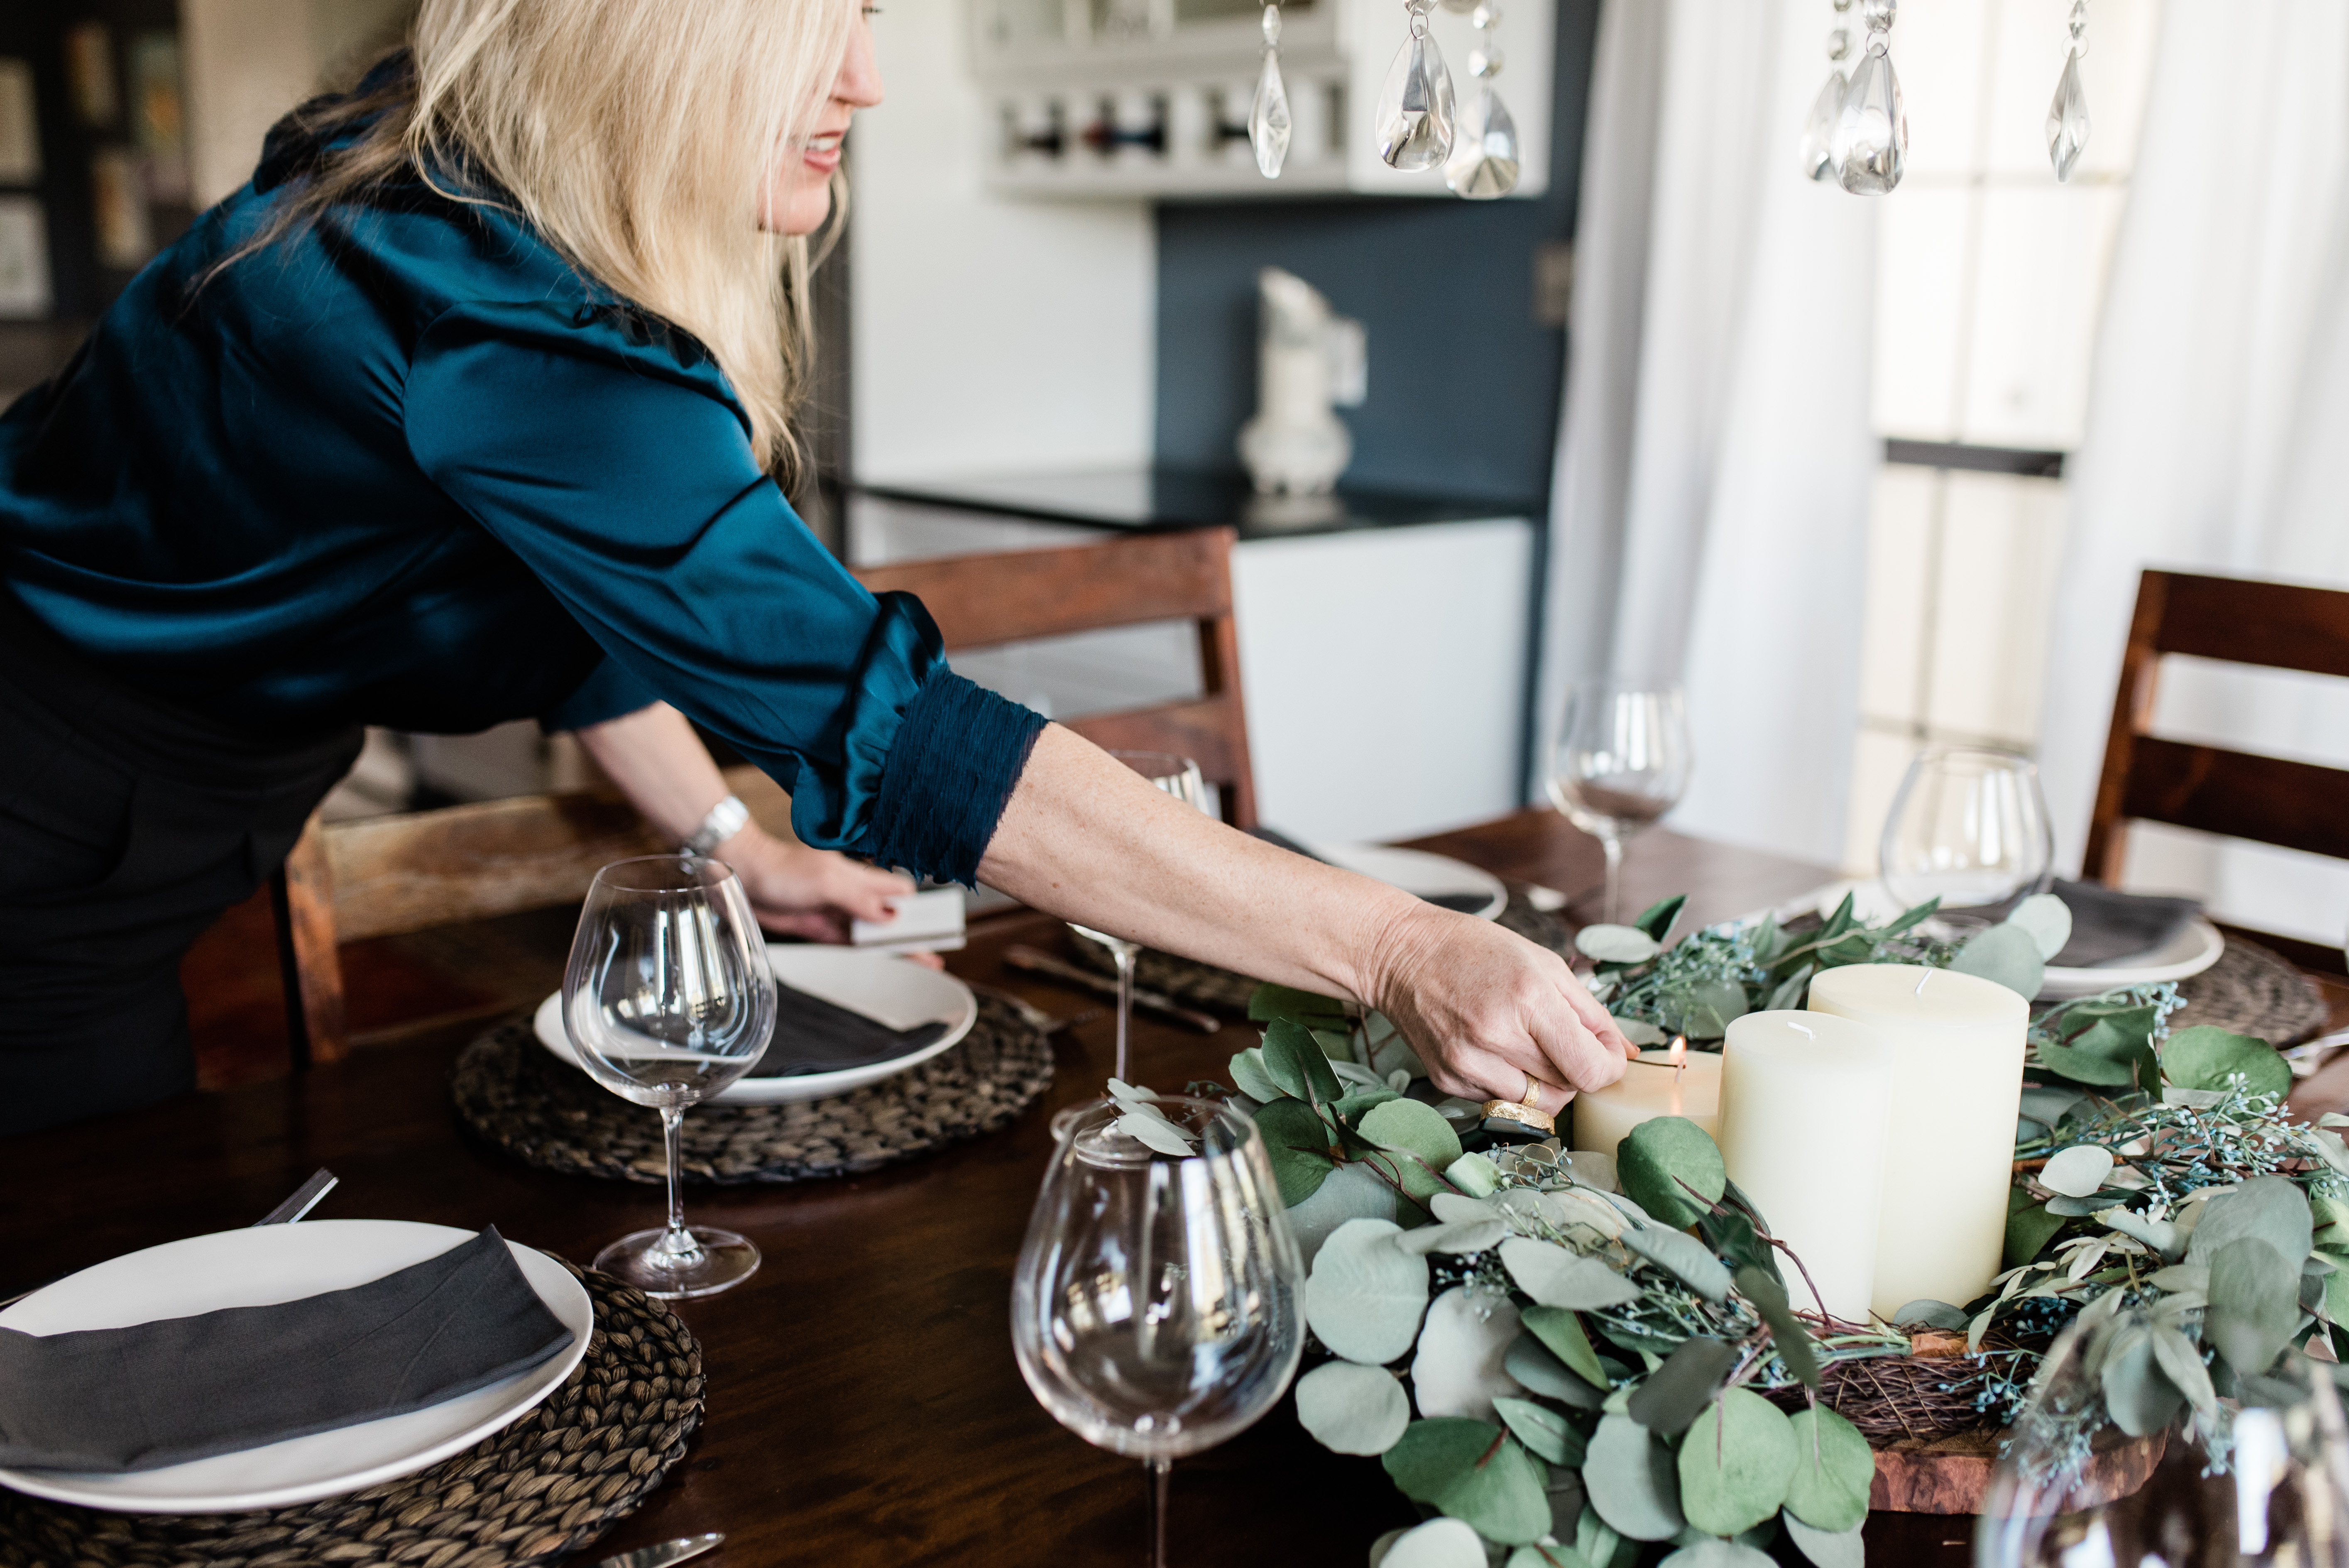
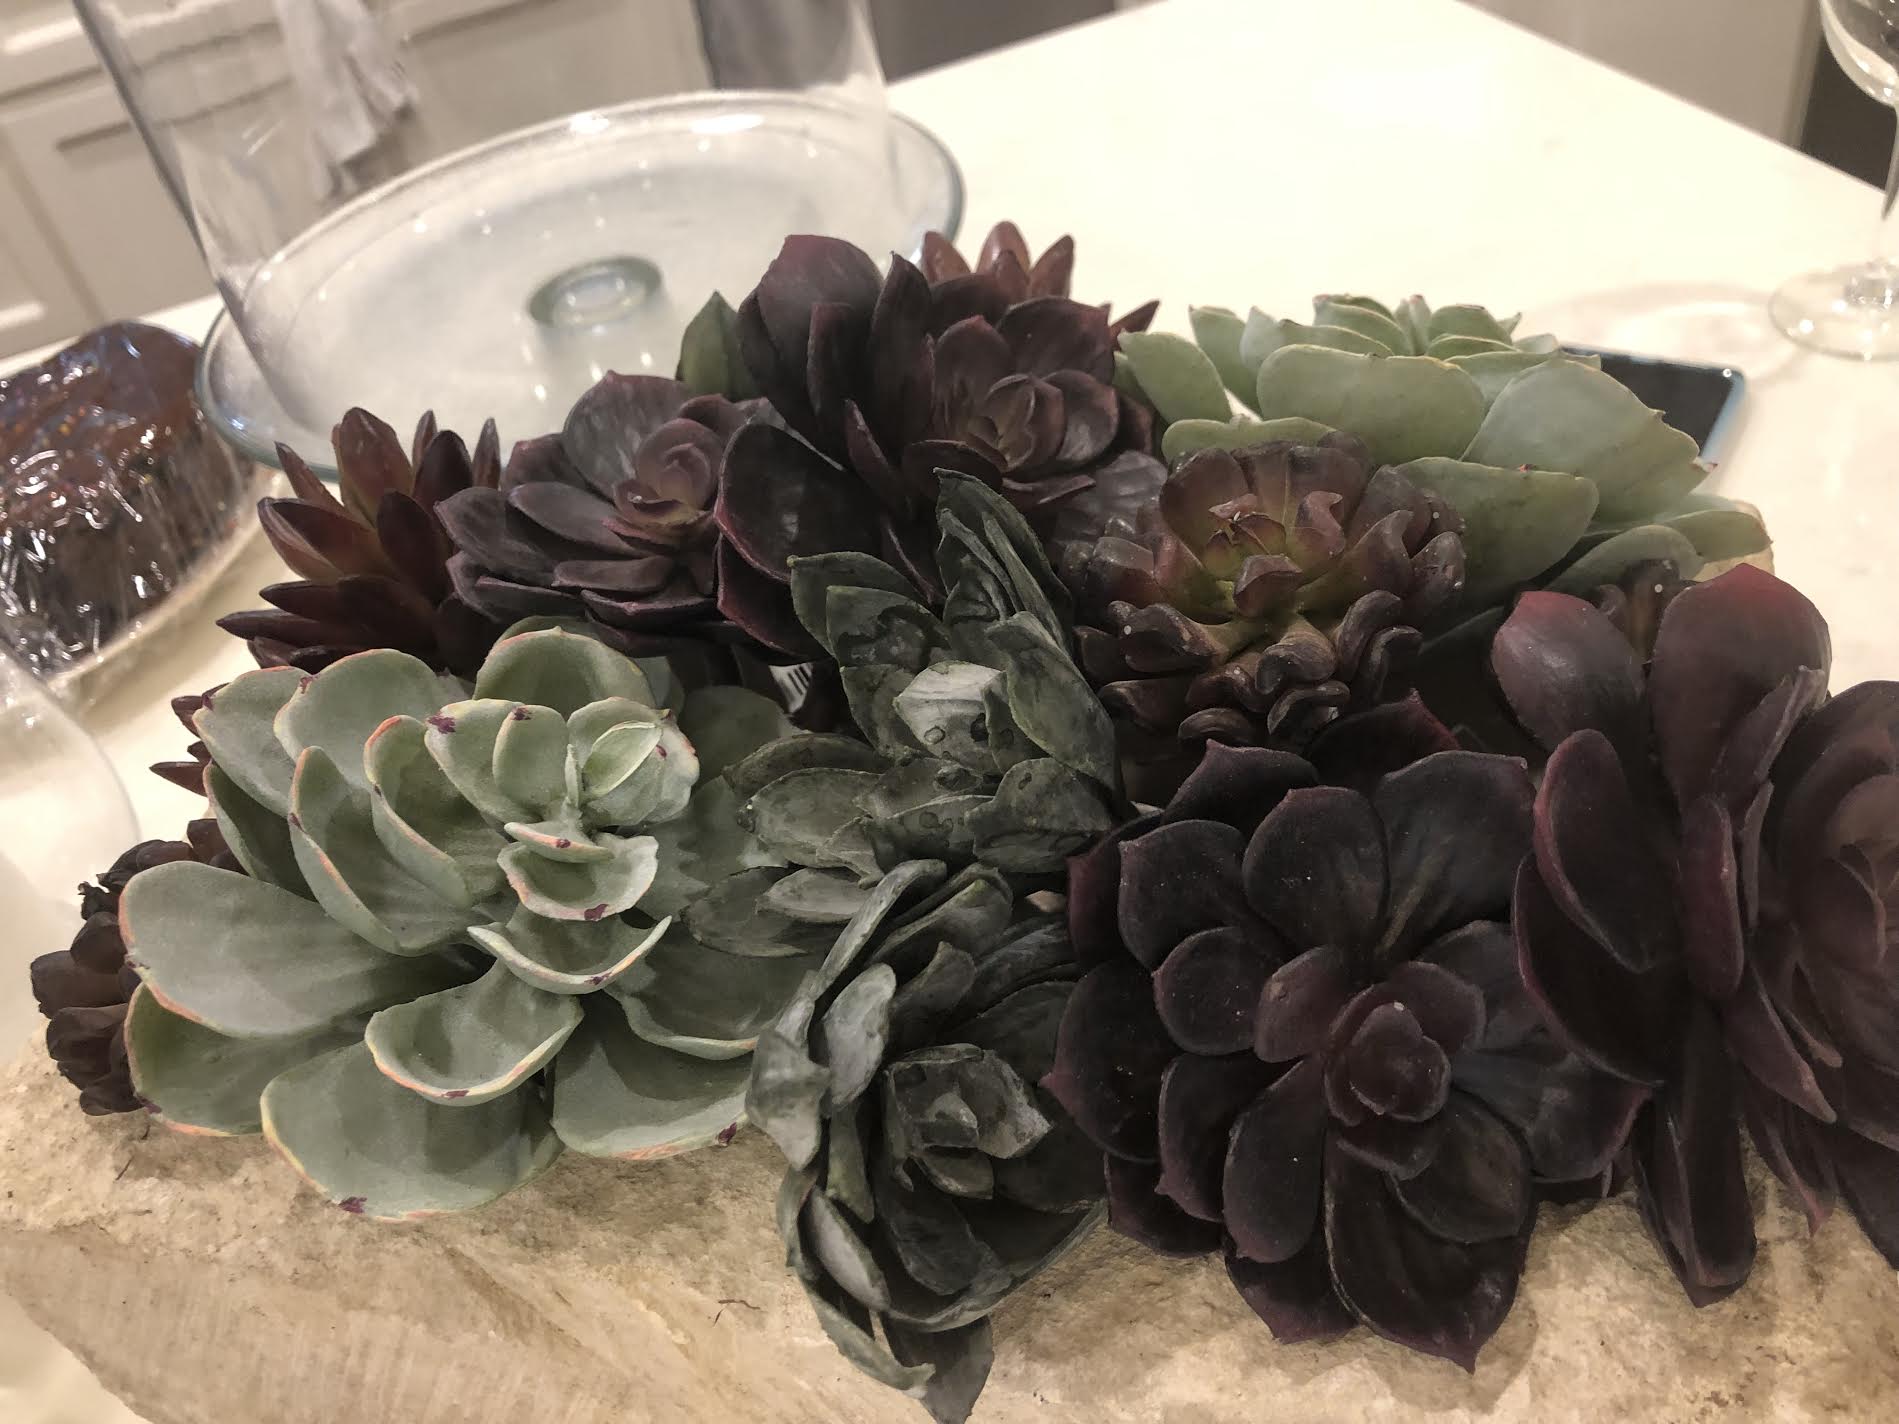
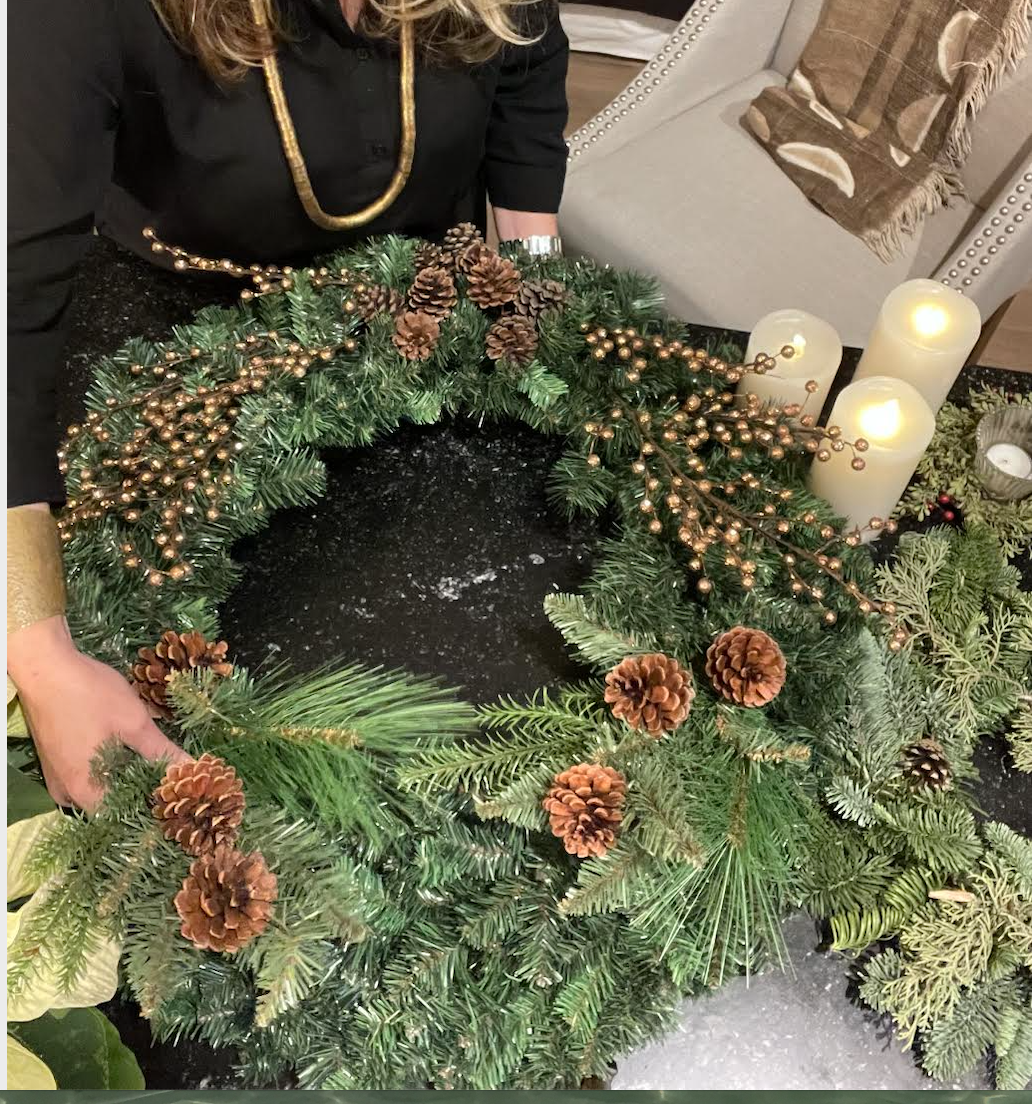
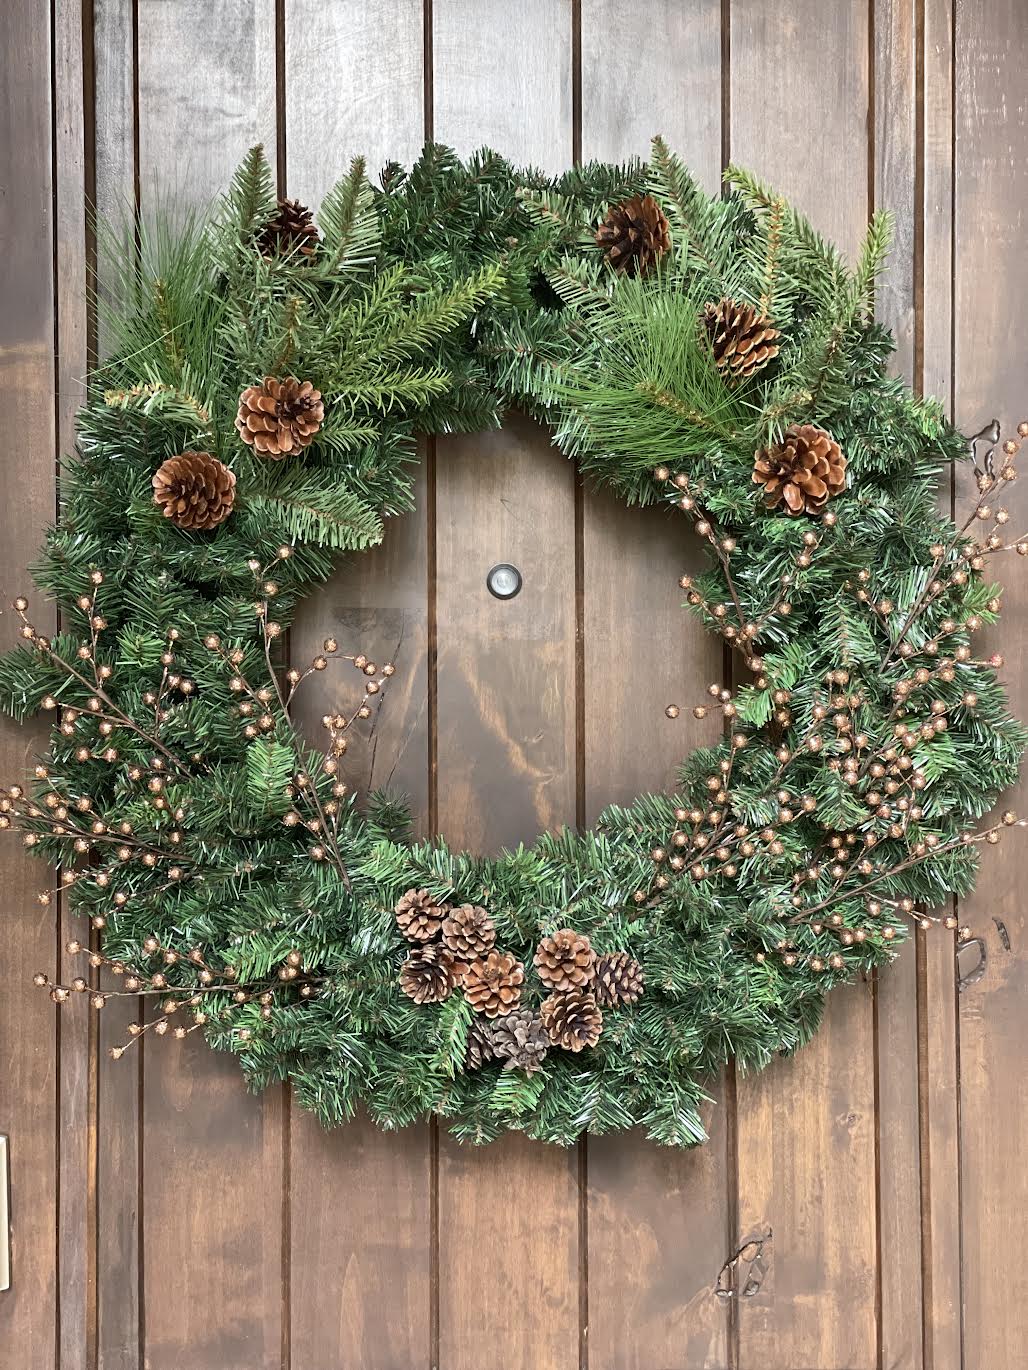
Candles are the best way to bring elegance to the table. For this table setting, I kept it extremely simple. I purchased a wreath at World Market, and added three pillars in various sizes in the center. The addition of a charger underneath helps protect the table from dripping wax.
This slideshow requires JavaScript.
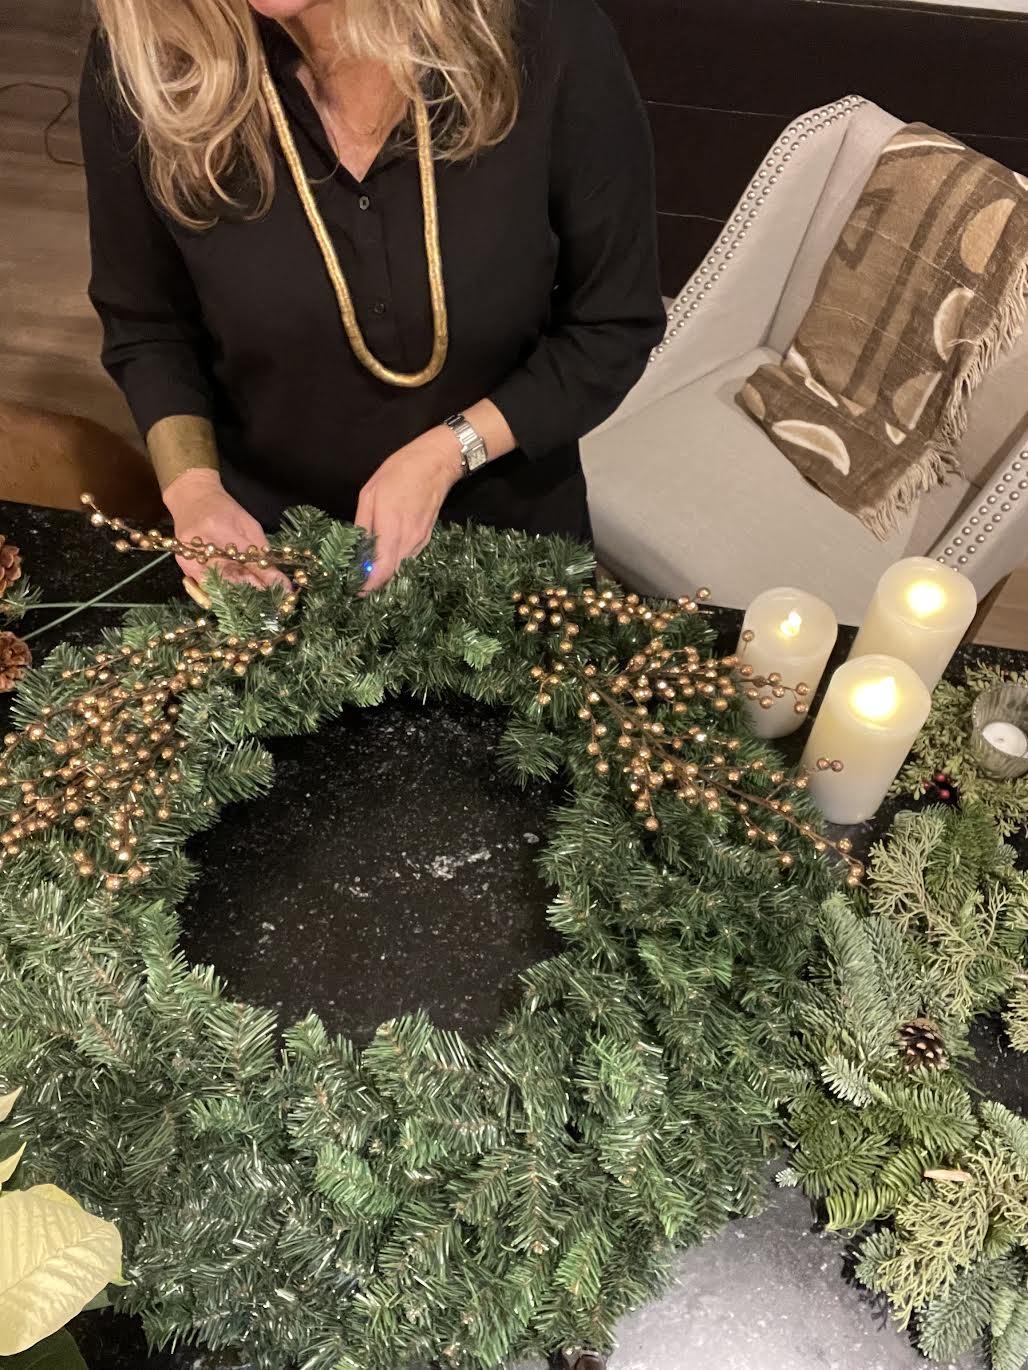
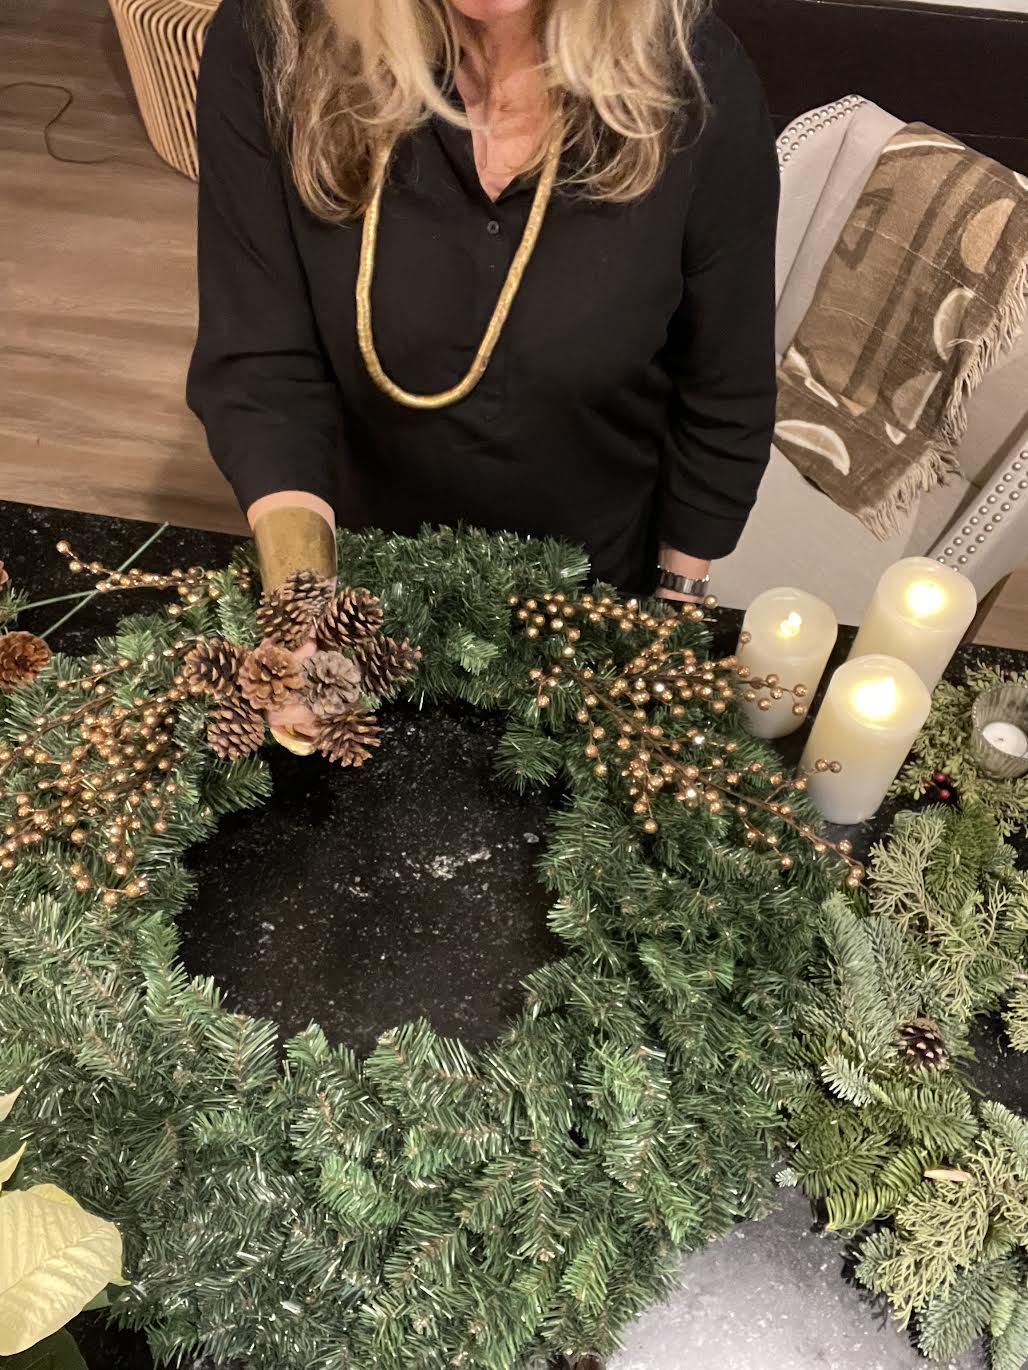
A COUPLE MORE IDEAS…
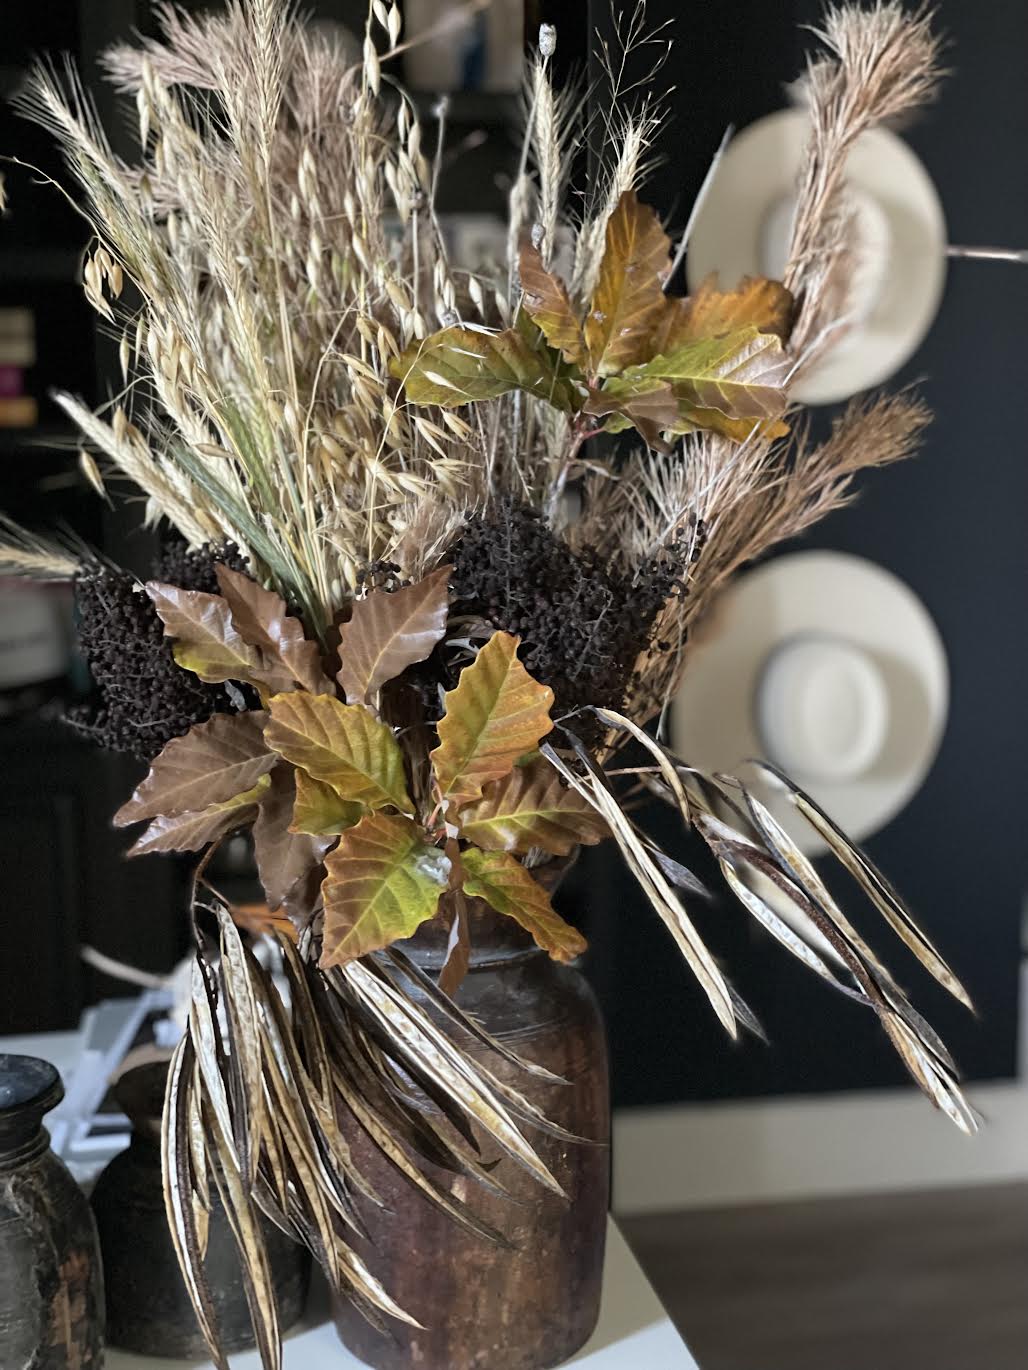
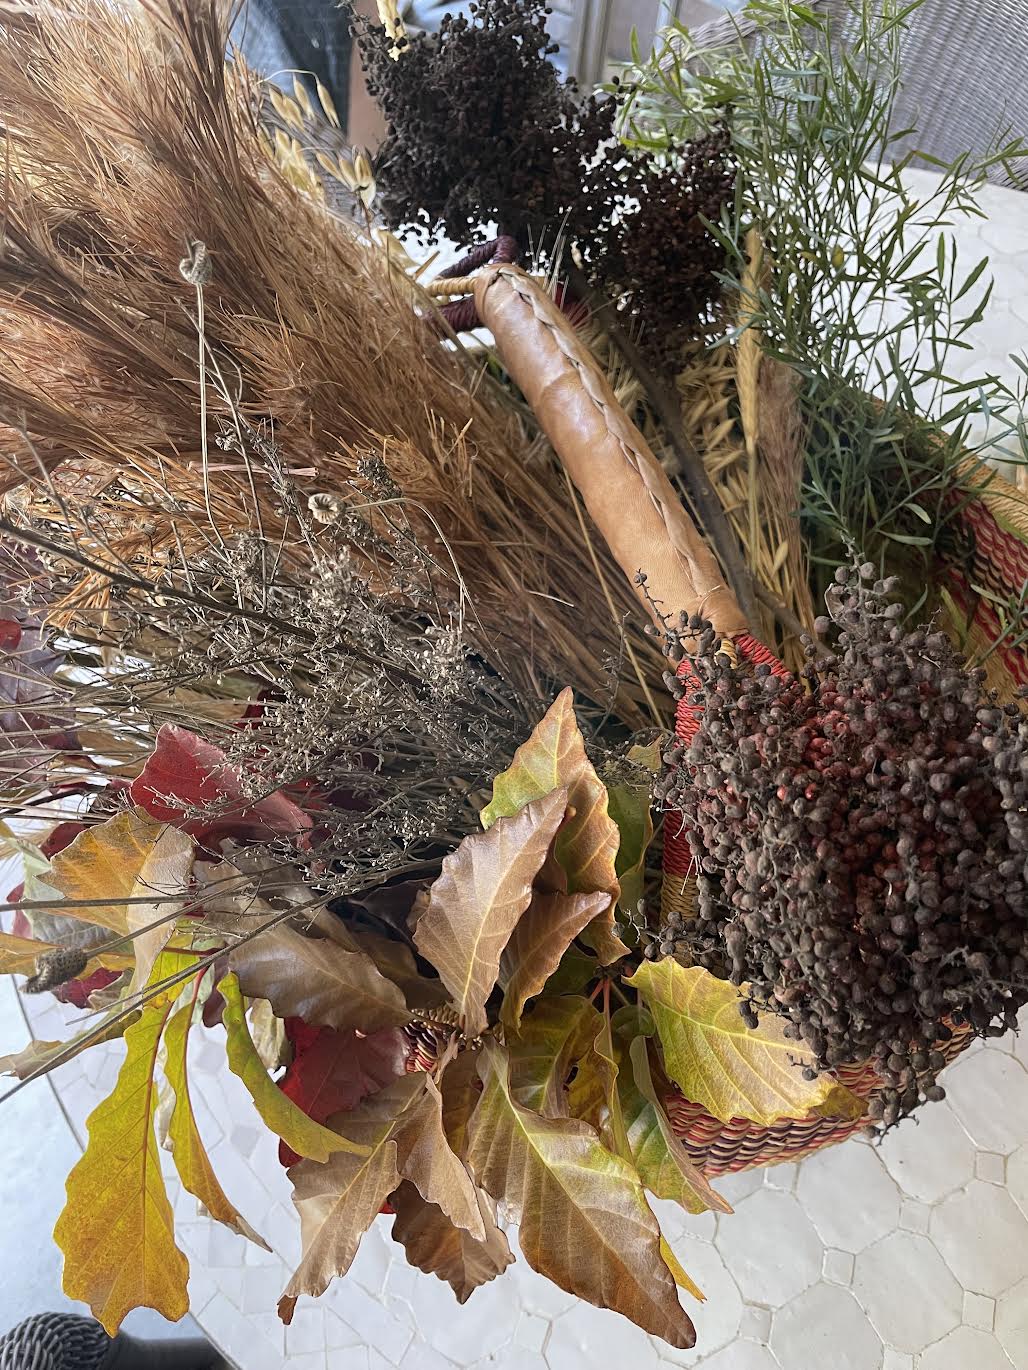
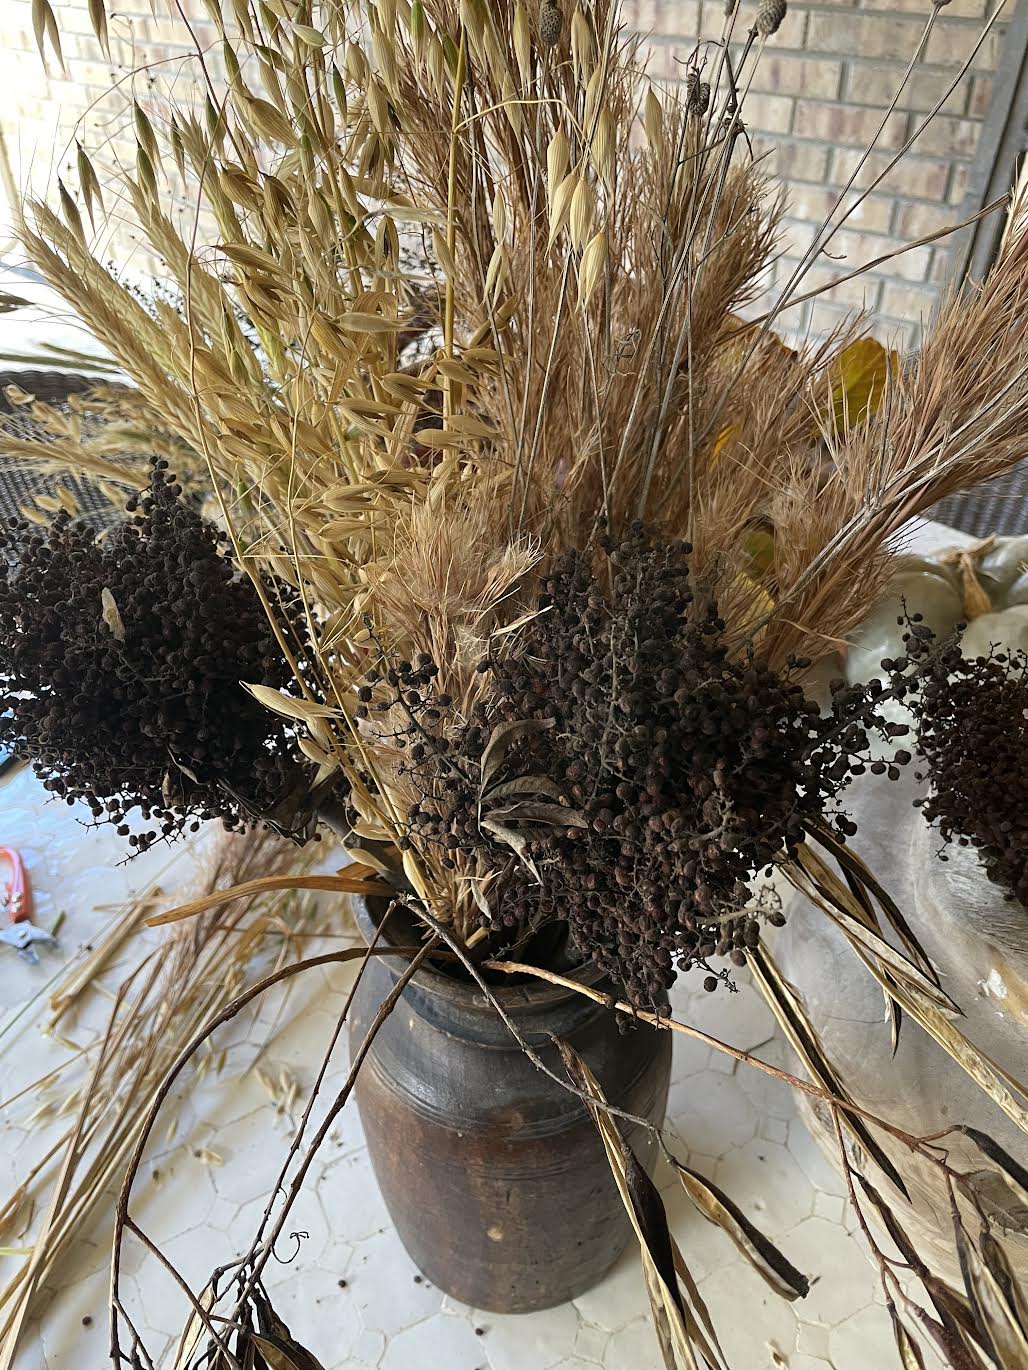
From this table setting you can add more or less. More candles, more vases with flowers or greenery. For Christmas, I like to add a fresh sprig of holly or juniper to each napkin. If I don’t have time to go out and purchase, I just take clippings from my Christmas tree.
If you are more of a “rules follower,” here’s a diagram from Wayfair just for you.


Most important, have fun & enjoy! Happy Holidays!
Read Full Post »


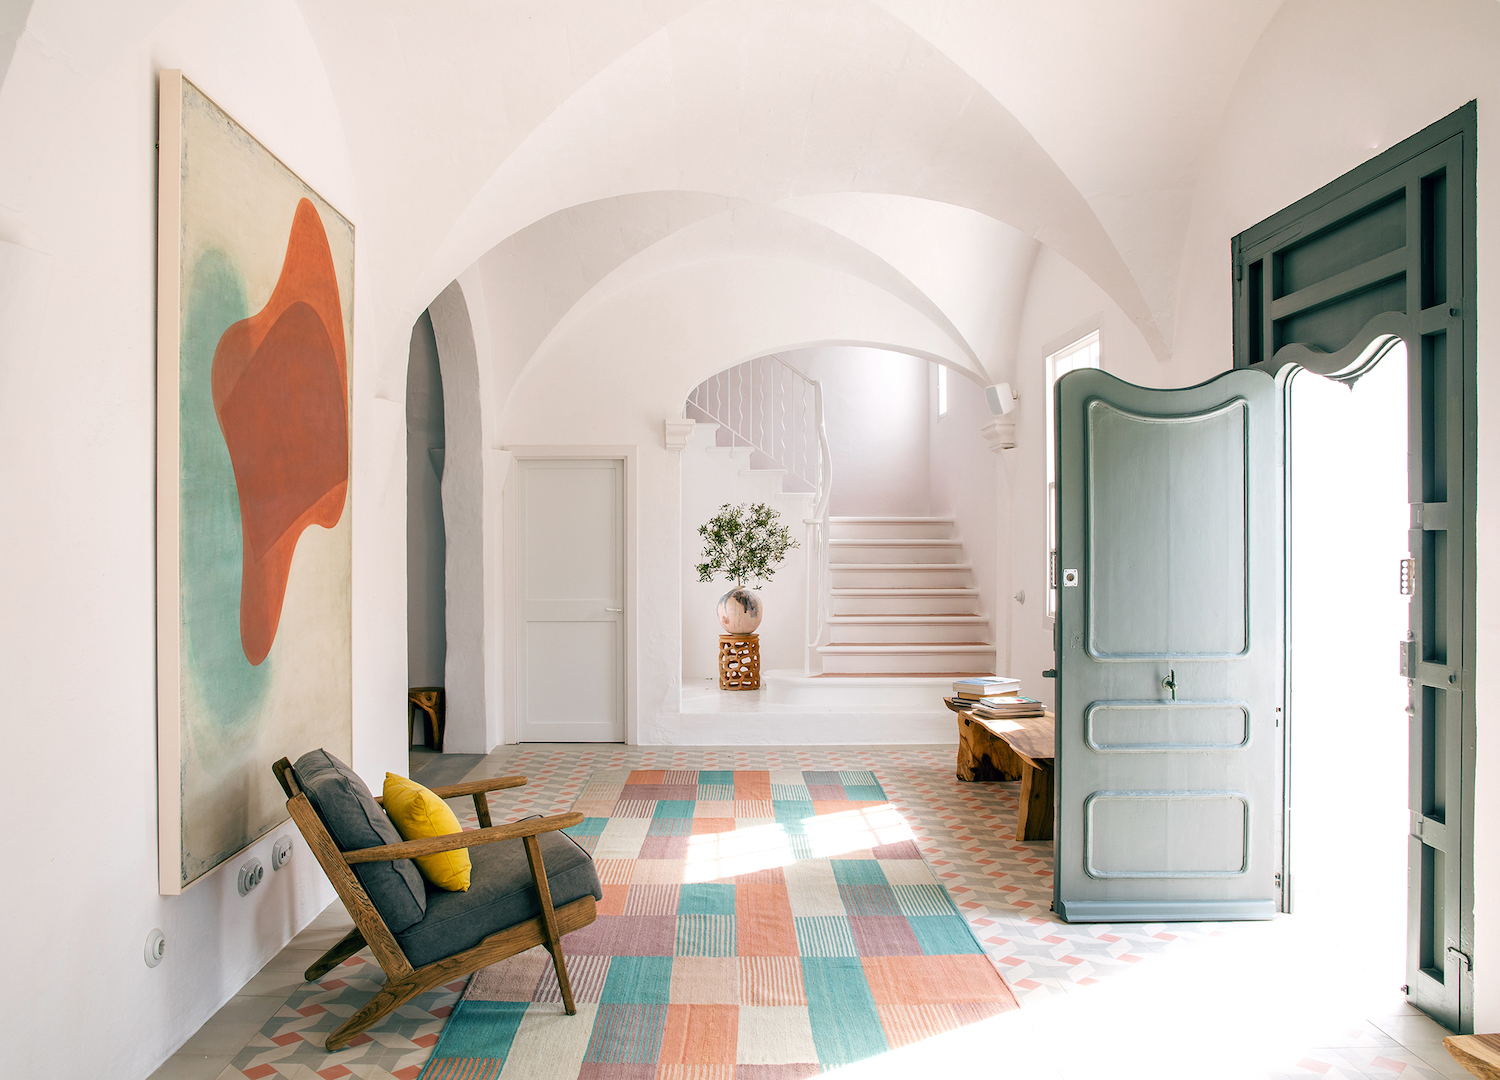
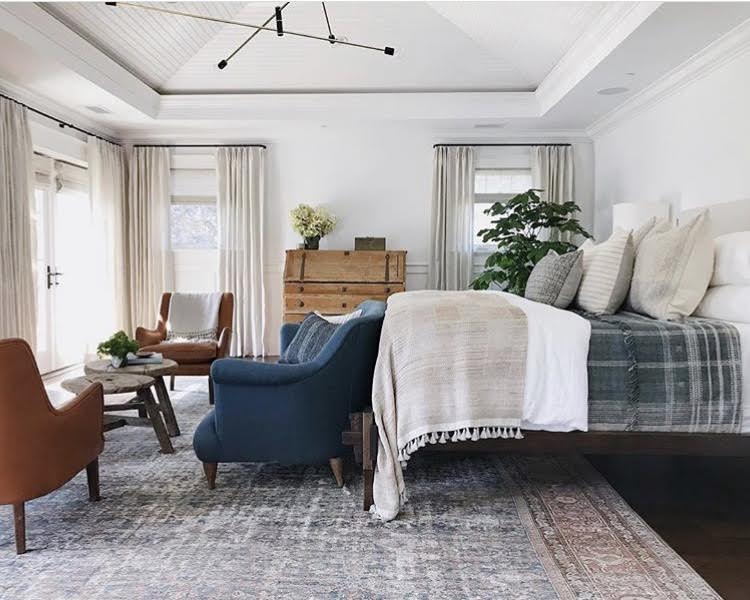
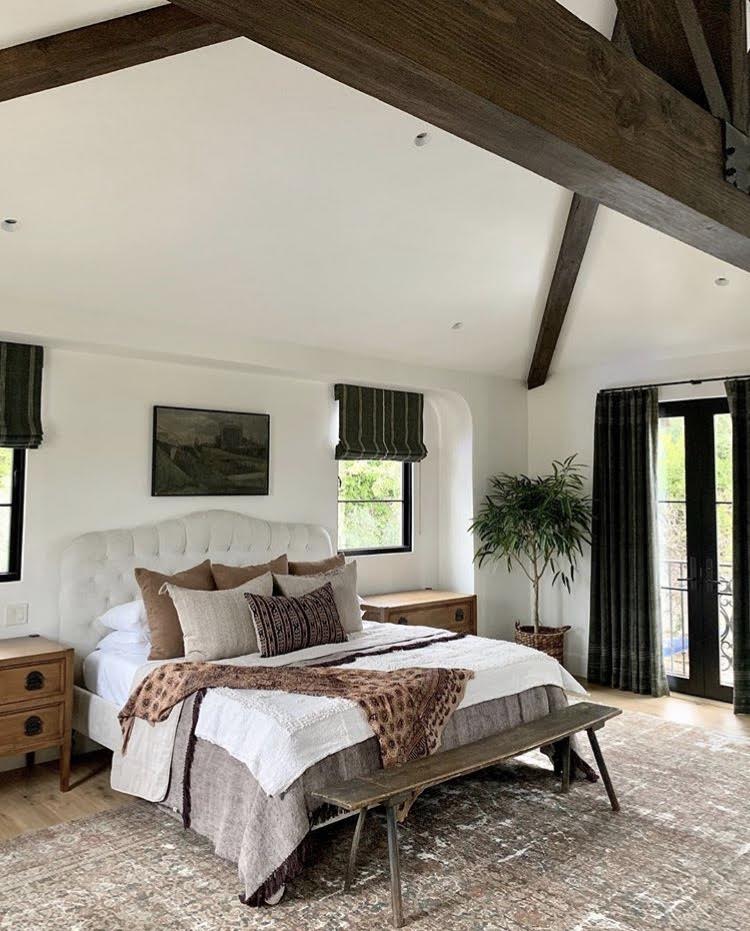
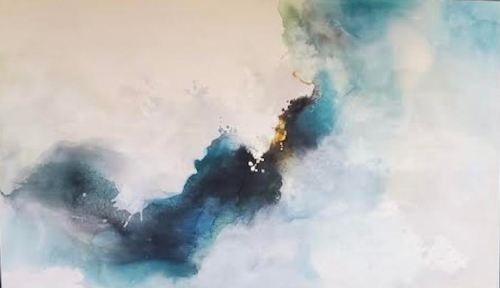 Being a huge art lover, my client came across this beautiful painting (above). So when we met to talk about some of her wishes she showed me this painting and I immediately thought it would be the perfect piece for this space.


 (I was in a bit of a rush putting this together so I apologize for the quality of the photos.)